1. Public Groups
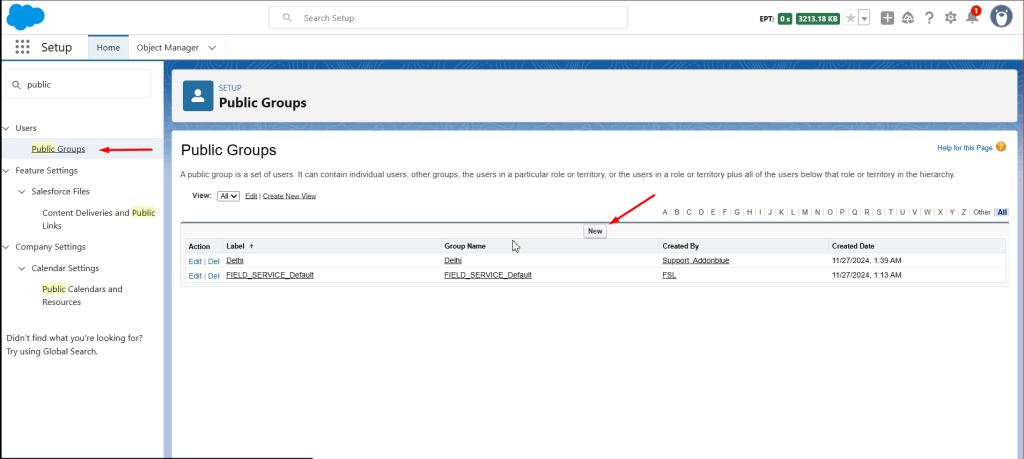
Search for ‘Public Groups’ and click ‘New’.
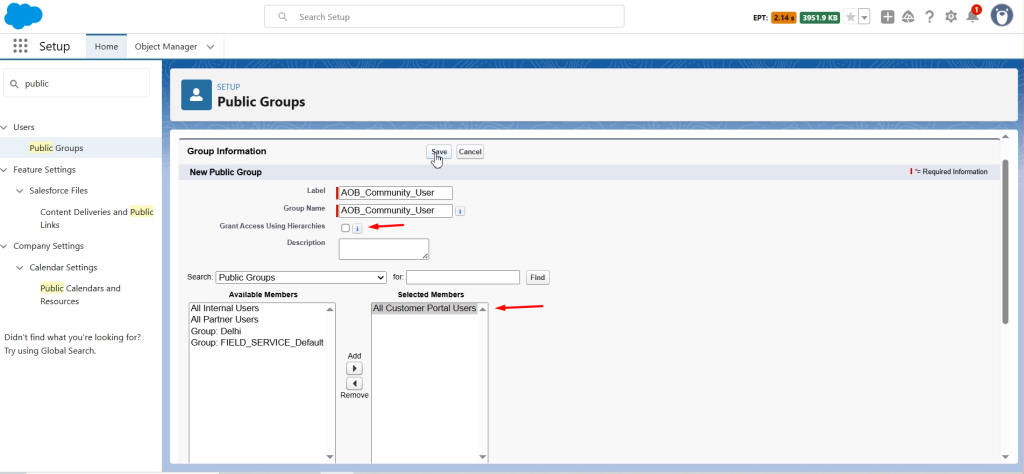
Enter the details of the Public Groups as shown in the image below. Click Save.
2. User Management Settings and enable Access Policies
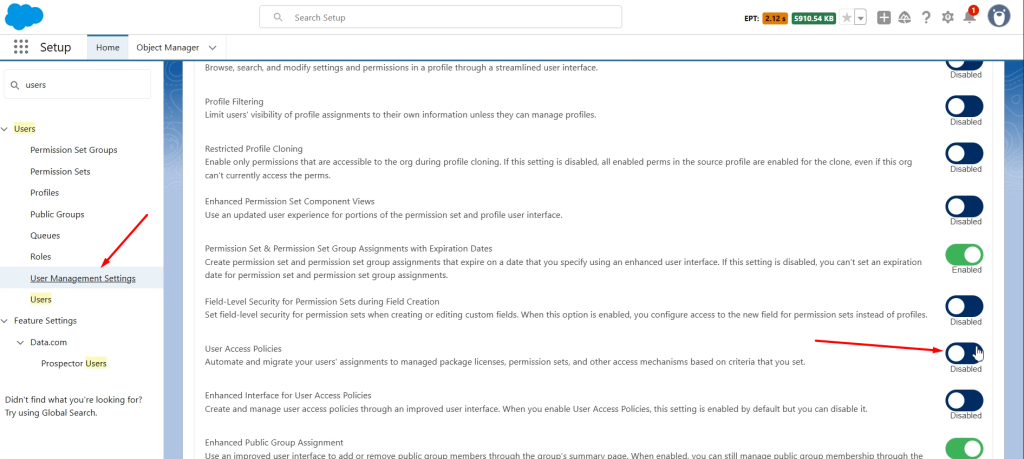
Go to ‘User Management Settings’ and enable the ‘User Access Policies’.
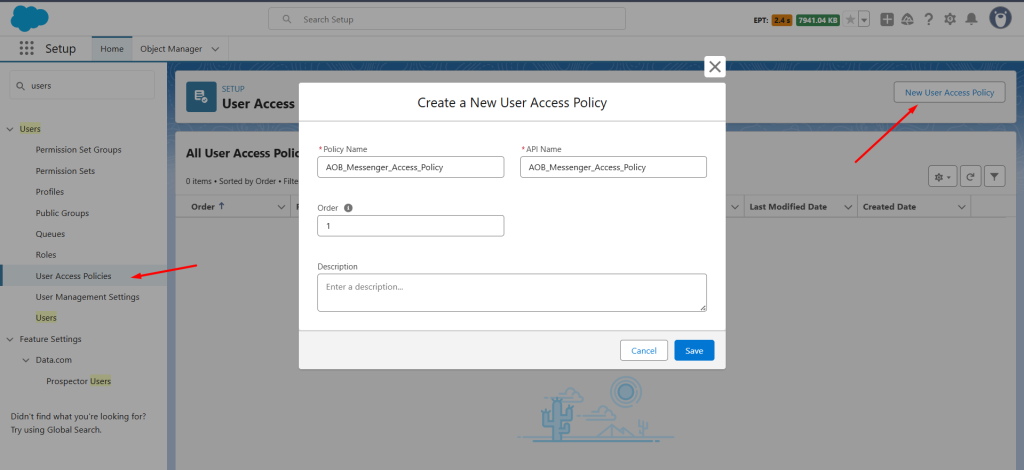
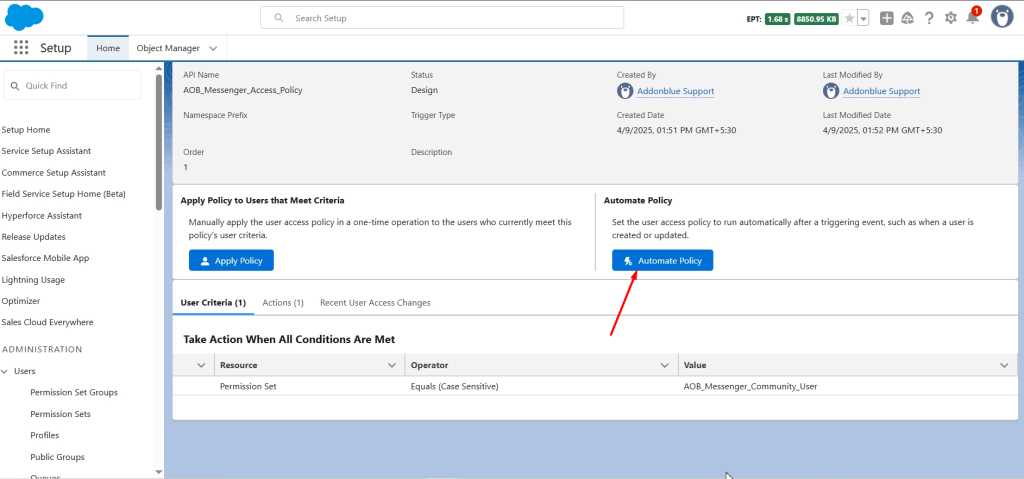
Under the users, select ‘User Access Policies’. Click on ‘New User Access Policy’ and enter the name and order value. Click Save.
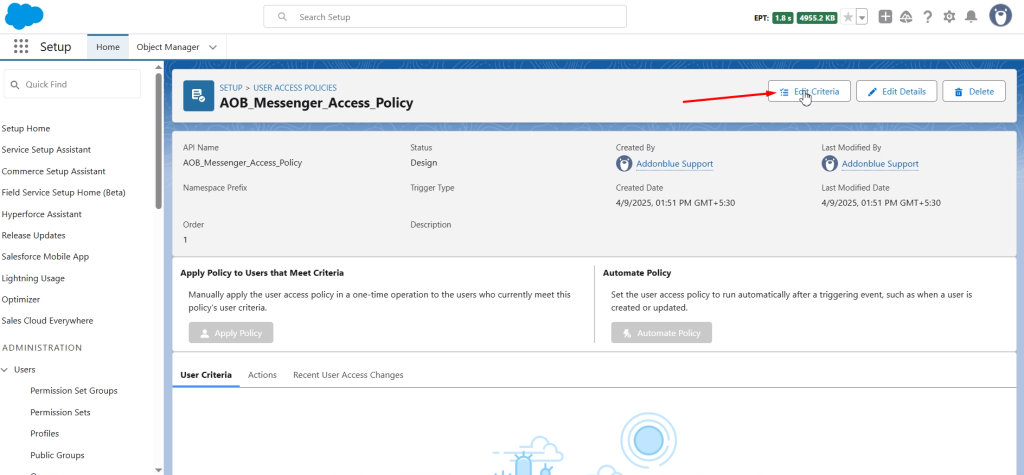
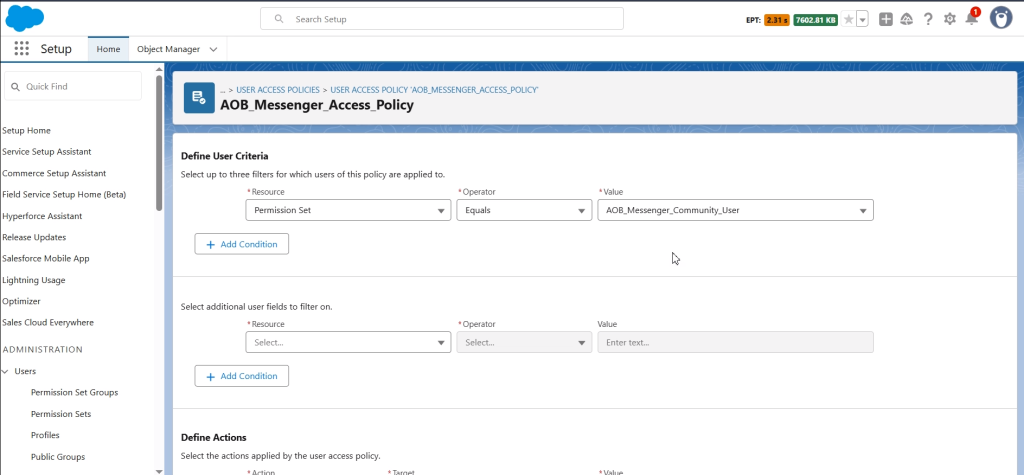
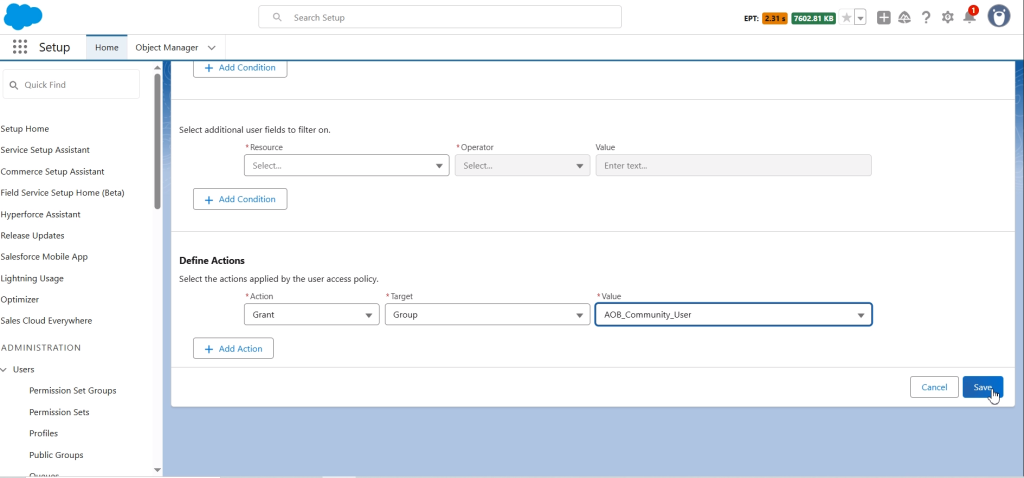
Now go to ‘Edit Criteria’ and enter the details as shown in the image below. Click Save.
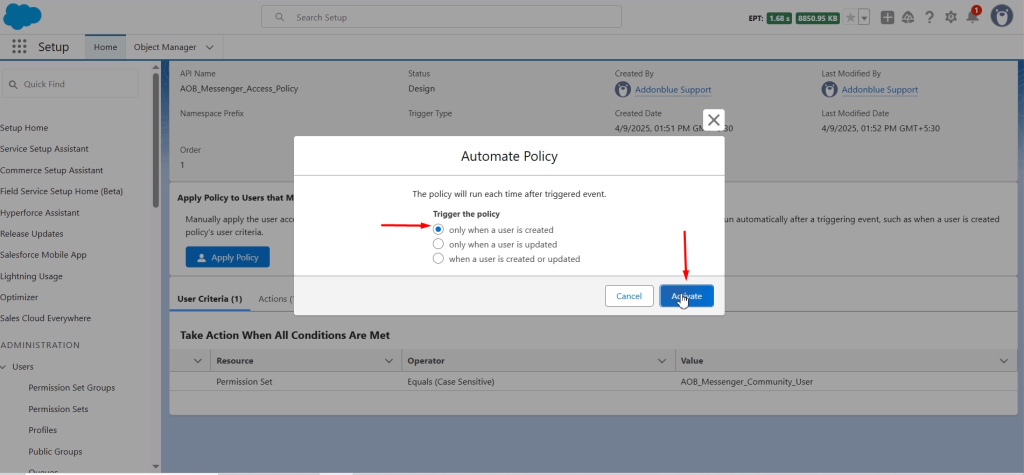
Click ‘Automate Policy’ and select ‘Only when user is created’ and click Activate.
3. Sharing Settings
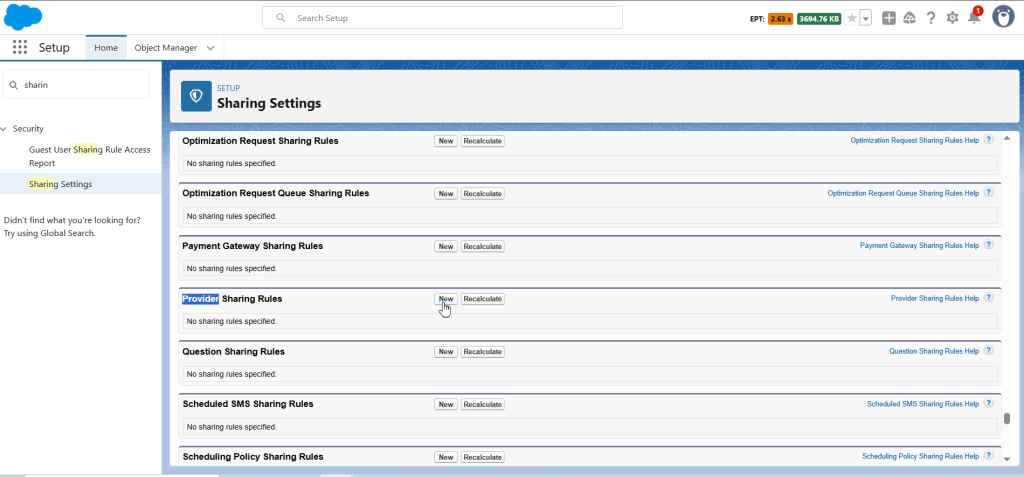
Search for ‘Sharing Settings’. Scroll to the bottom and click New in the ‘Provider Sharing Rules’.
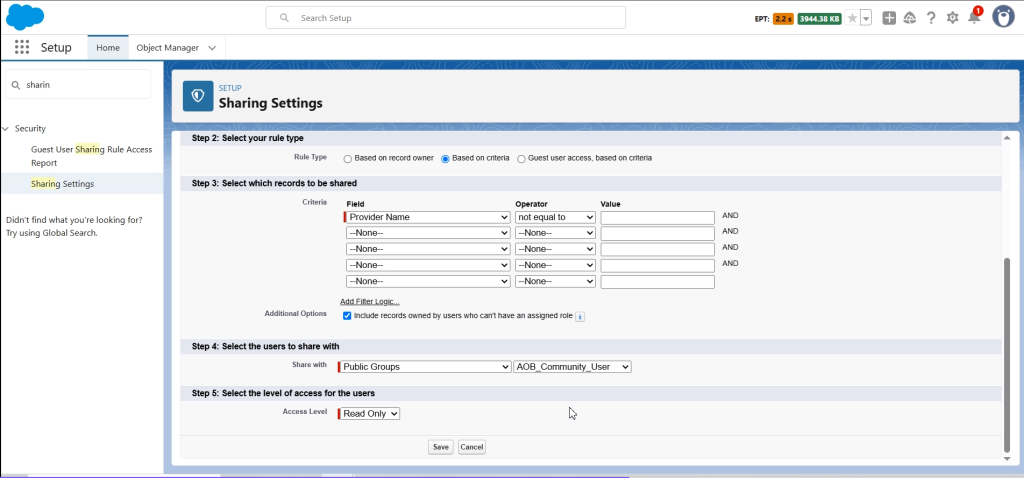
Enter the details as shown below and click Save.
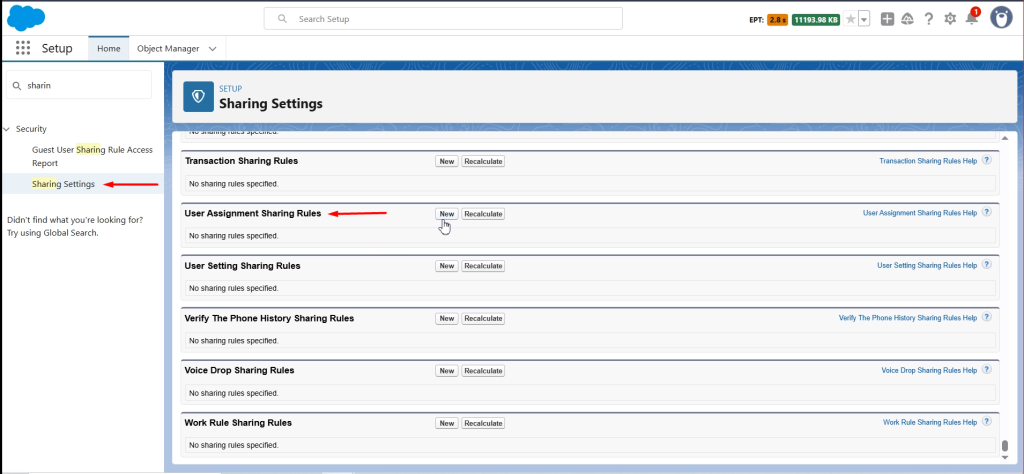
Similarly, Click New in the ‘User Assignment Sharing Rules’.
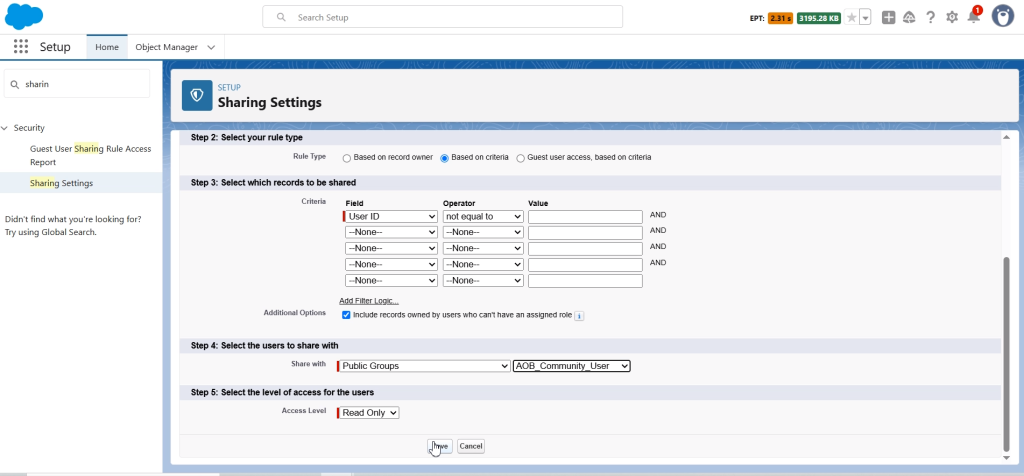
Enter the details as shown below and click Save.
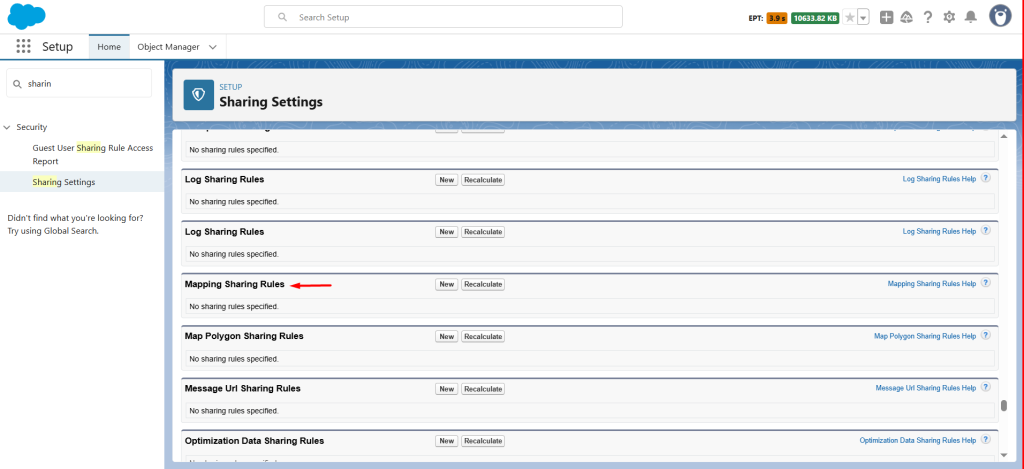
Similarly, Click new in Mapping sharing rule.
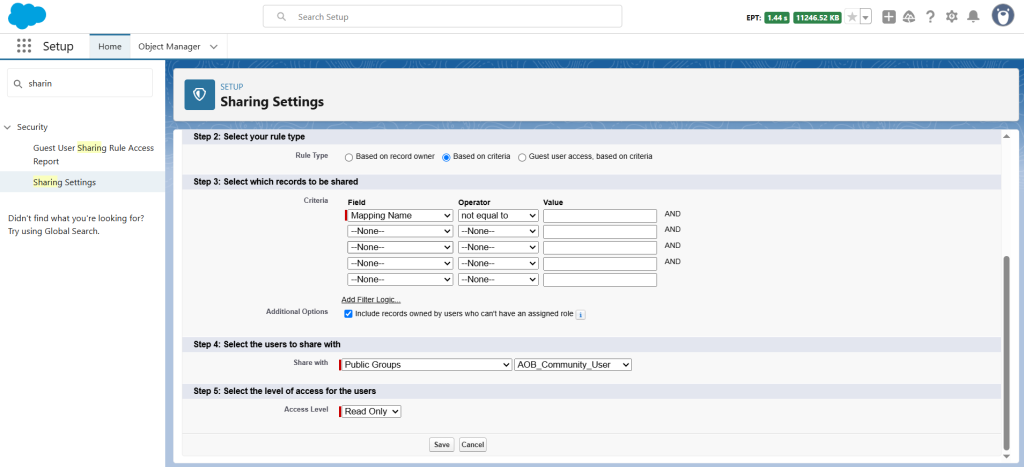
Enter the details as shown below and click Save.
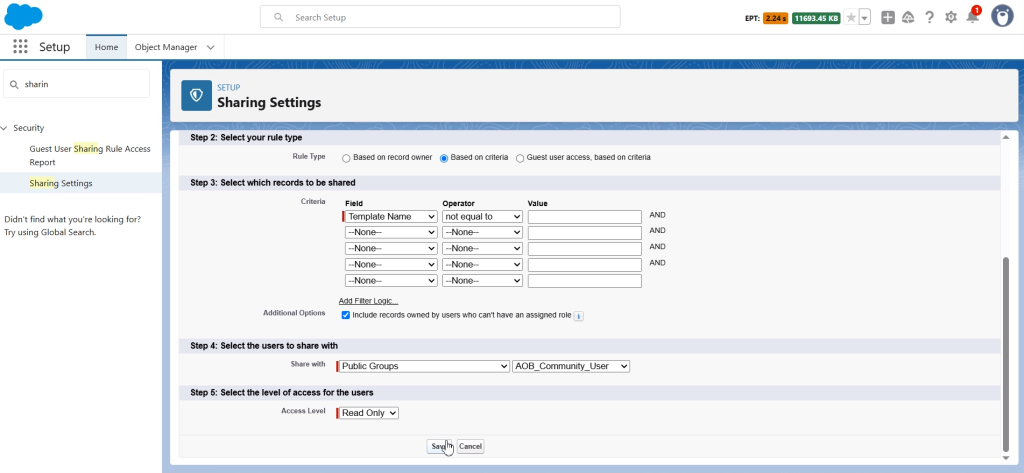
At last, click New in the ‘Template Sharing Rules’.
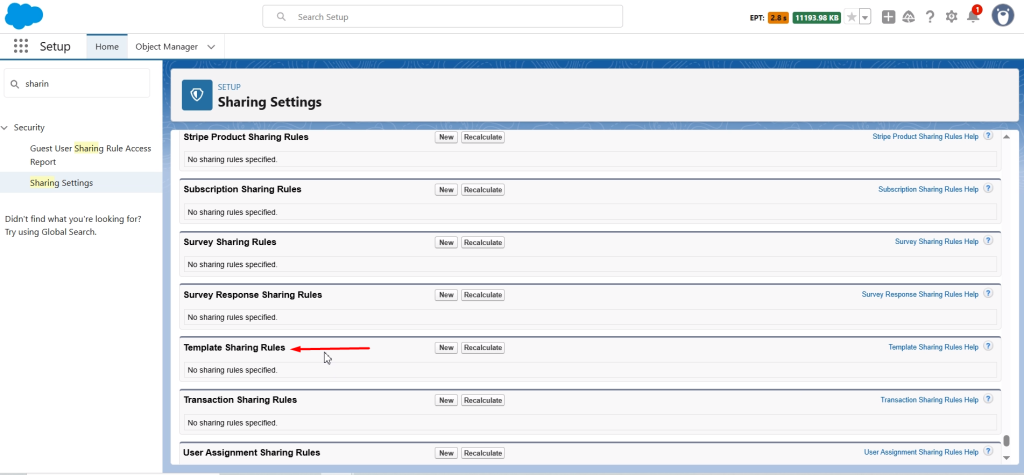
Enter the details as shown below and click Save.