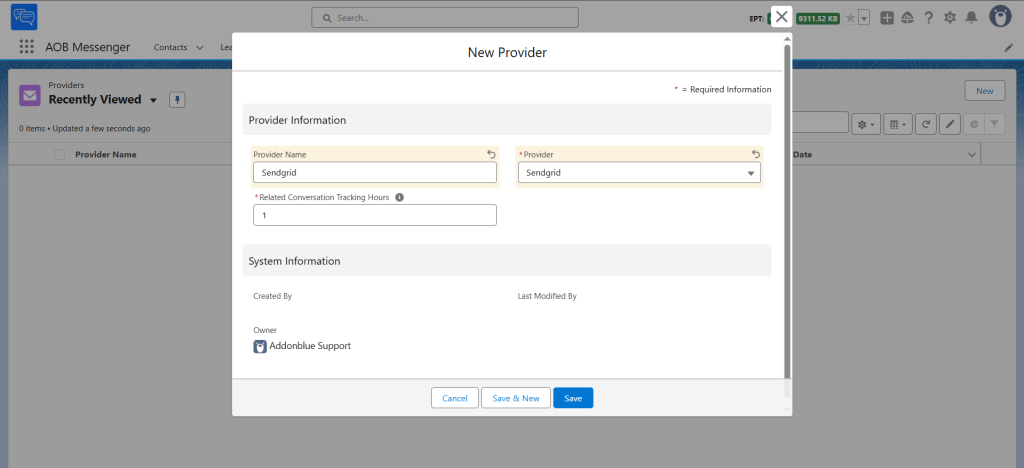
1. Setup Sendgrid Provider
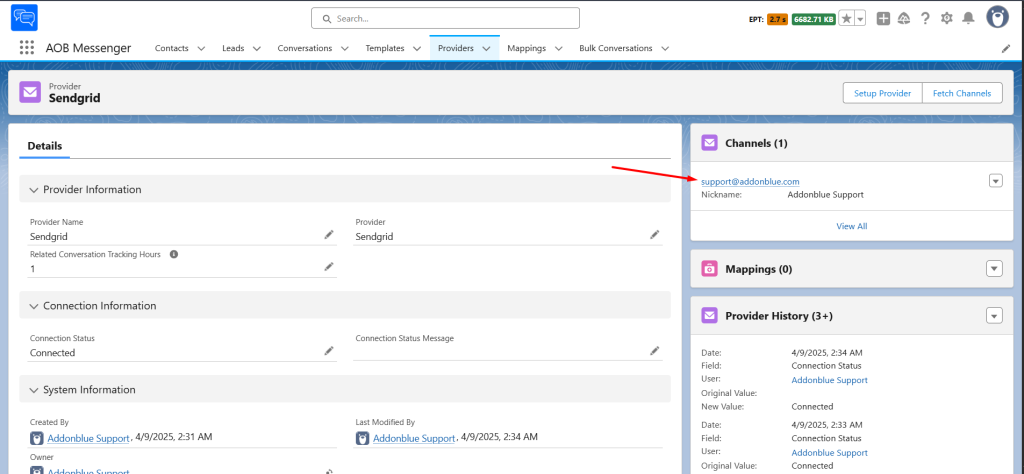
Select Sendgrid from the Provider dropdown and enter the necessary details for your provider.
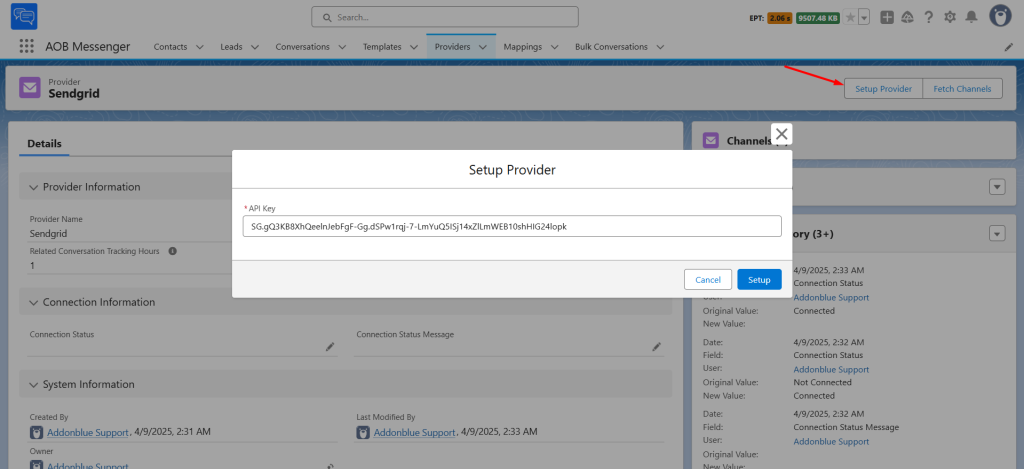
Click on Setup Provider, enter your API Key and click Setup to authenticate your provider. Refresh the page to verify the connection status.
NOTE : To get your API Keys, Go to Settings > Create API Key or use existing key.
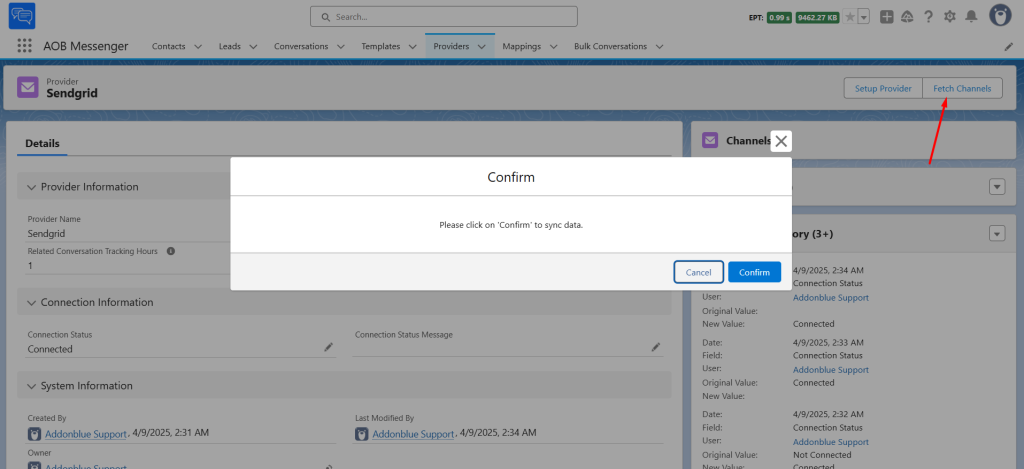
Once the connection status is marked as Connected, navigate to Fetch Channels and click Confirm. Then, refresh the page to view the channels associated with your provider.
Click on the channel to view its details and assign it to users.
To assign channels to a preferred user, navigate to User Assignments and click New.
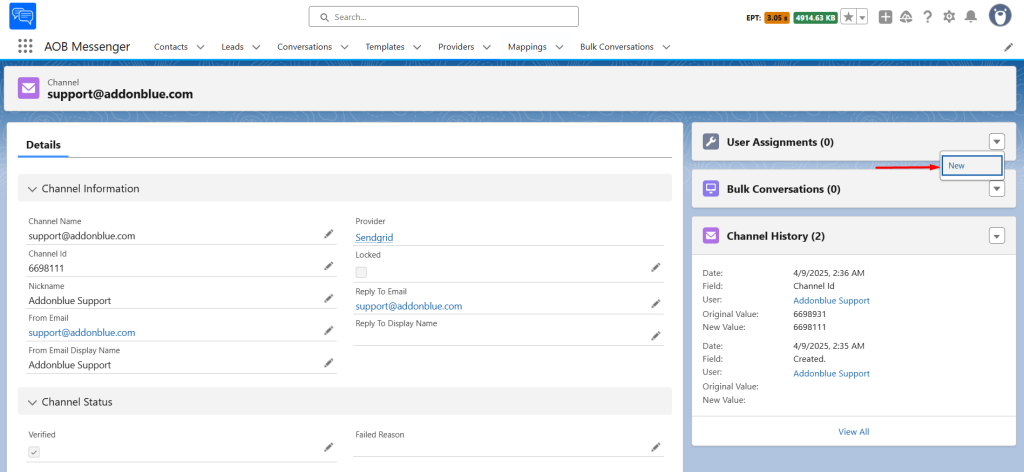
Select the user you want to grant access to, then click Save.

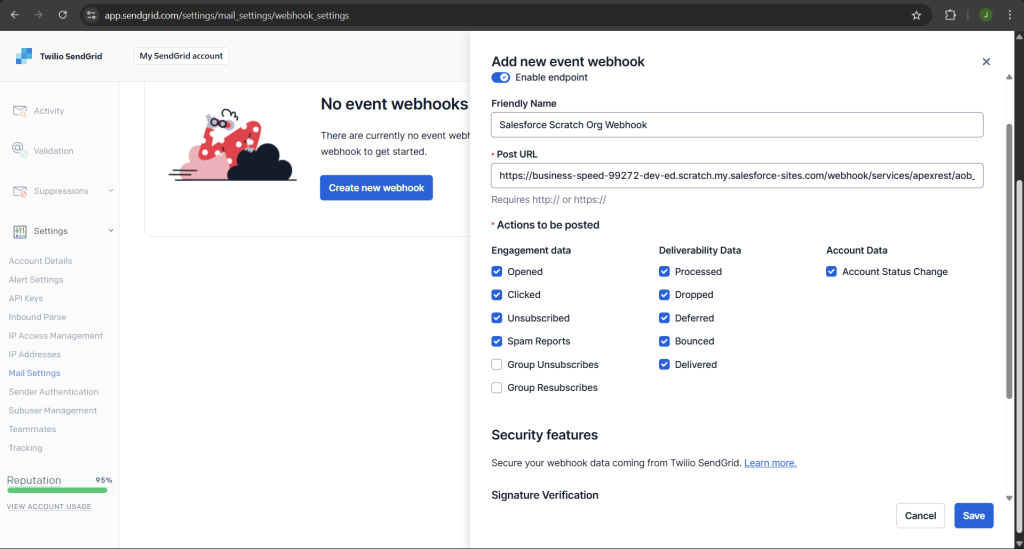
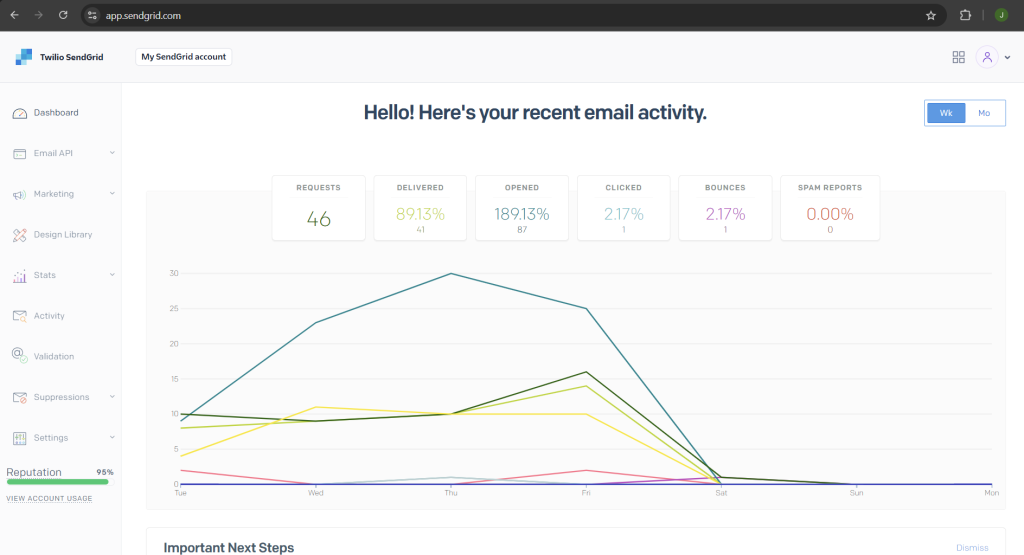
2. Setup SendGrid Webhook
SendGrid uses webhooks to notify Salesforce of events, such as bounces, clicks, opens, or status updates.
Log in to your SendGrid Account.
Go to Settings > Mail Settings > Event Webhooks
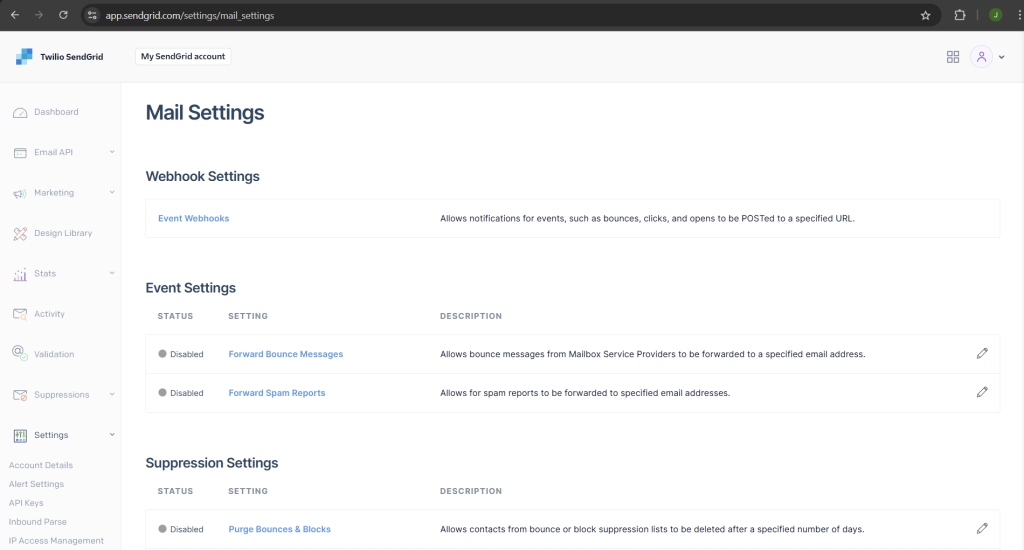
In ‘Event Webhooks’ create a new webhook as per following.
For Post URL, paste the site URL which we created in the earlier step and add ‘/services/apexrest/aob_messenger/webhook/sendgrid‘ after the site URL and click Save configuration.