NOTE : There must be a value inside the field with data type as Email.
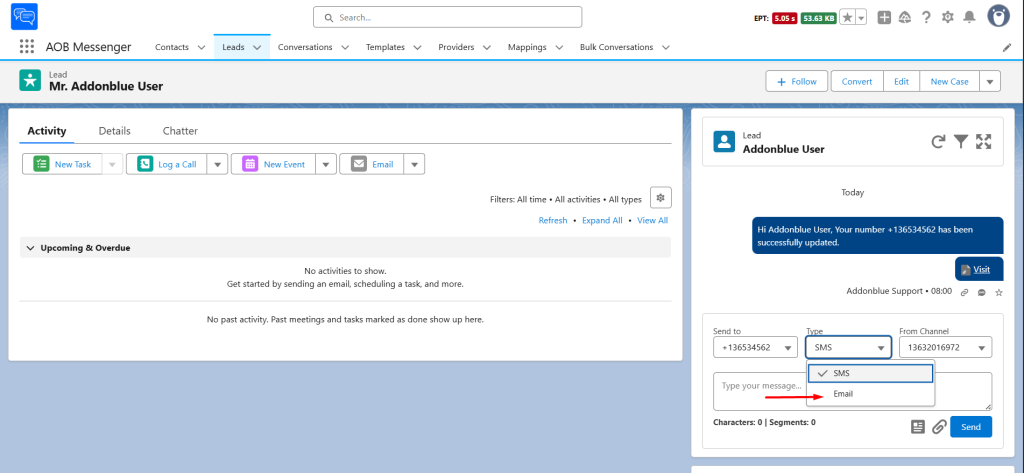
Navigate to the object where you added the conversation component. Open the record with which you want to start the conversation and switch the conversation type to ‘Email’.
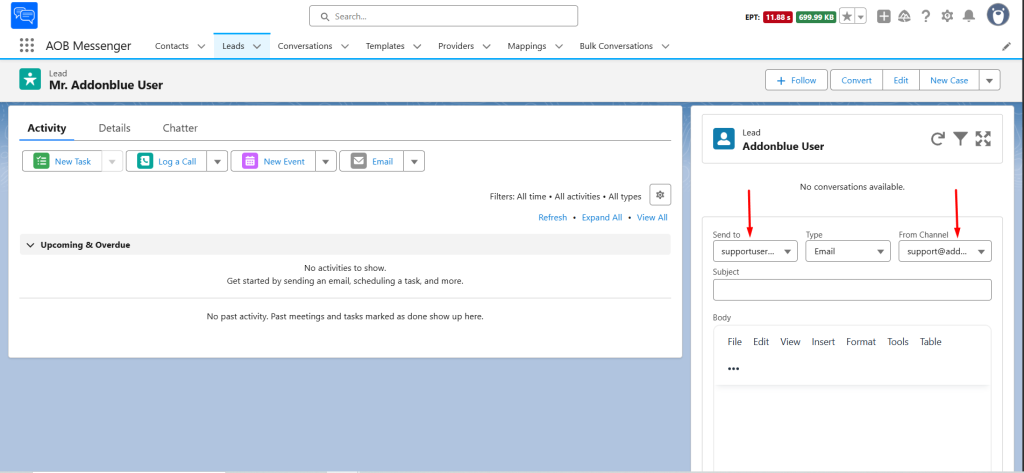
If there are multiple values in the ‘Send to’ and ‘From channel’ fields, you can select the desired value from the dropdown.
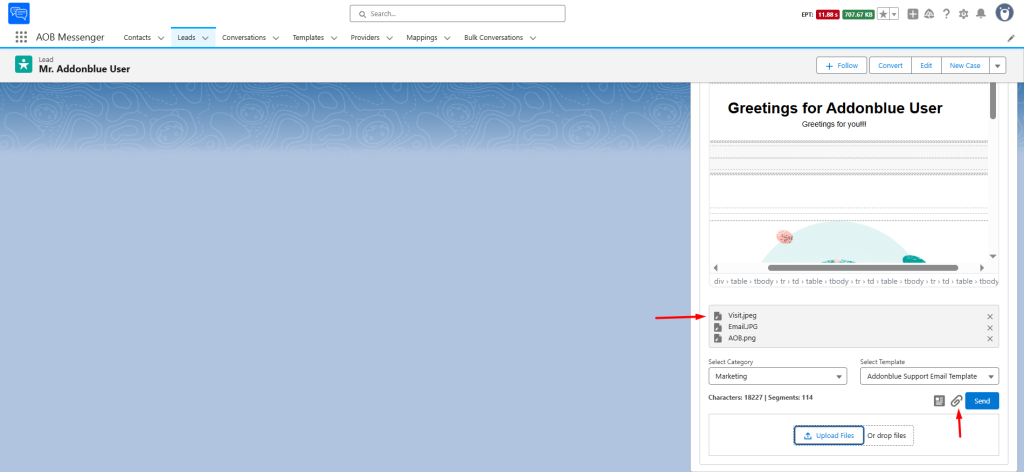
You can either type the email content and subject manually or select a template based on the category from the options below. You can also edit the existing template.
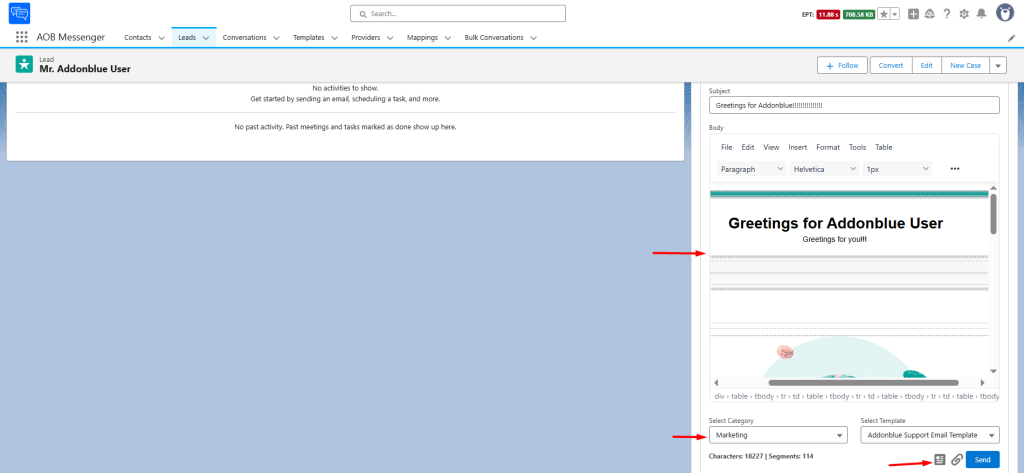
Attachments can be included in the email by clicking the icon below and selecting the attachment. You can attach multiple files, but the total size should not exceed 3MB.
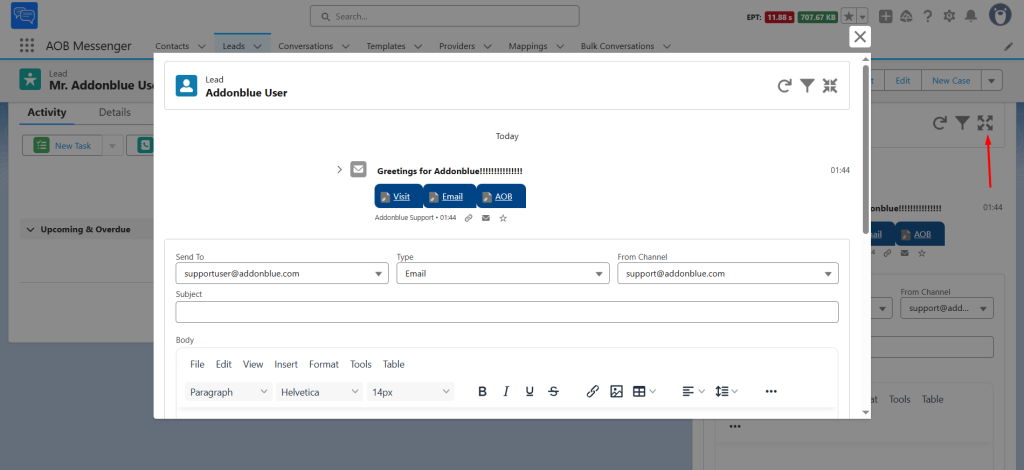
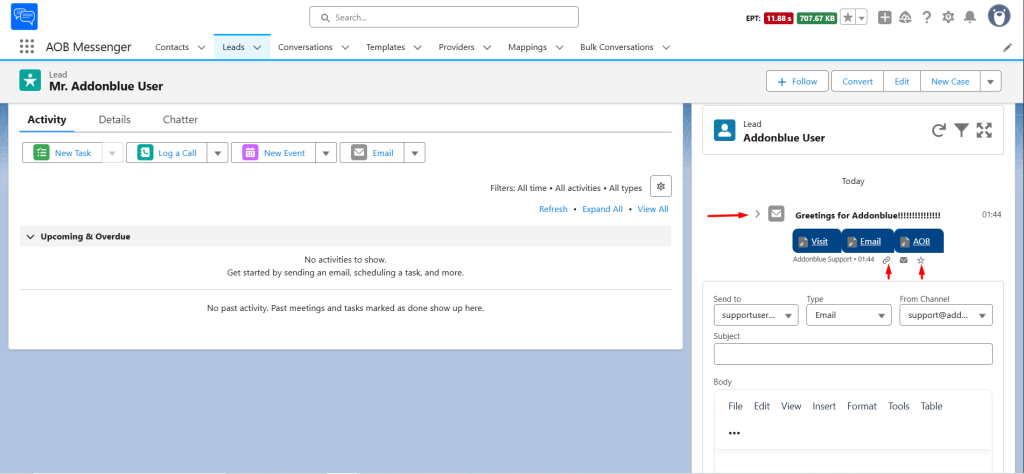
As soon as the user clicks on Send, the email will be sent from the selected channel, and the conversation will be visible. A conversation record will be created with the details of the conversation. You can access the conversation record by clicking on the icon below the email or by clicking on ‘View complete email’ inside the email toggle. Additionally, you can mark any chat as important by selecting the star icon.
NOTE : The conversations visible in the component are according to the ‘Send to’ field value.
You can filter the chats by clicking on the filter icon. Simply select the desired filter option and click Apply. Based on your selection, the filtered chats will be displayed inside the component.

You can enlarge the component by clicking on the expand button.